Today, we’re going to solve the great photography debate once and for all. HDR; Is it art or over-saturated monstrosity?
HDR stands for High Dynamic Range. It is used to capture and display a wide range of brightness levels in an image. The goal of HDR is to create a more realistic and visually striking image by preserving details in both the brightest and darkest areas of the scene. To be fair though, “realistic”, is often not the end result.
See, the fundamental difference in exposure perception between a camera sensor and a human eye lies in their dynamic range. While a camera sensor captures a broader range of light intensities, the human eye excels at adapting to different lighting conditions, providing a wider dynamic range perception and ability to perceive details in both bright and dark areas. For the photo geek in all of us, it’s interesting to note the dynamic range of the human eye is estimated to be around 20 stops, while modern sensors have a dynamic range of 12 to 15 stops.
This implies that the human eye can perceive a wider range of light intensities, allowing for a greater ability to discern details in both bright and dark areas simultaneously. HDR photography will try to adress this issue.
In photography, dynamic range (the DR in HDR) is usually measured in f-stops or exposure values (EV).
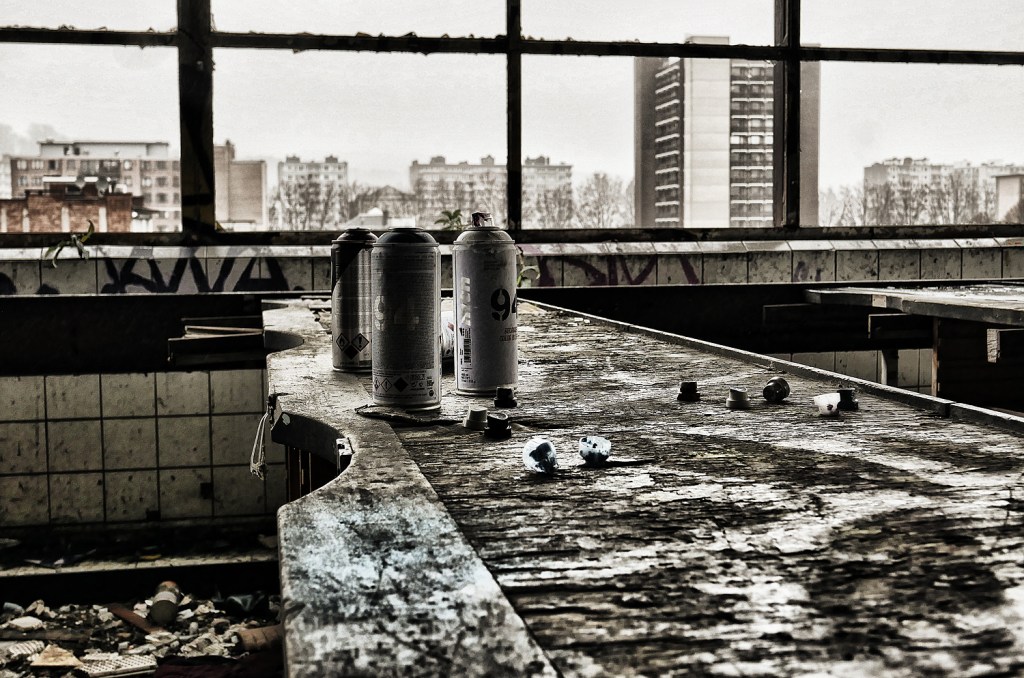
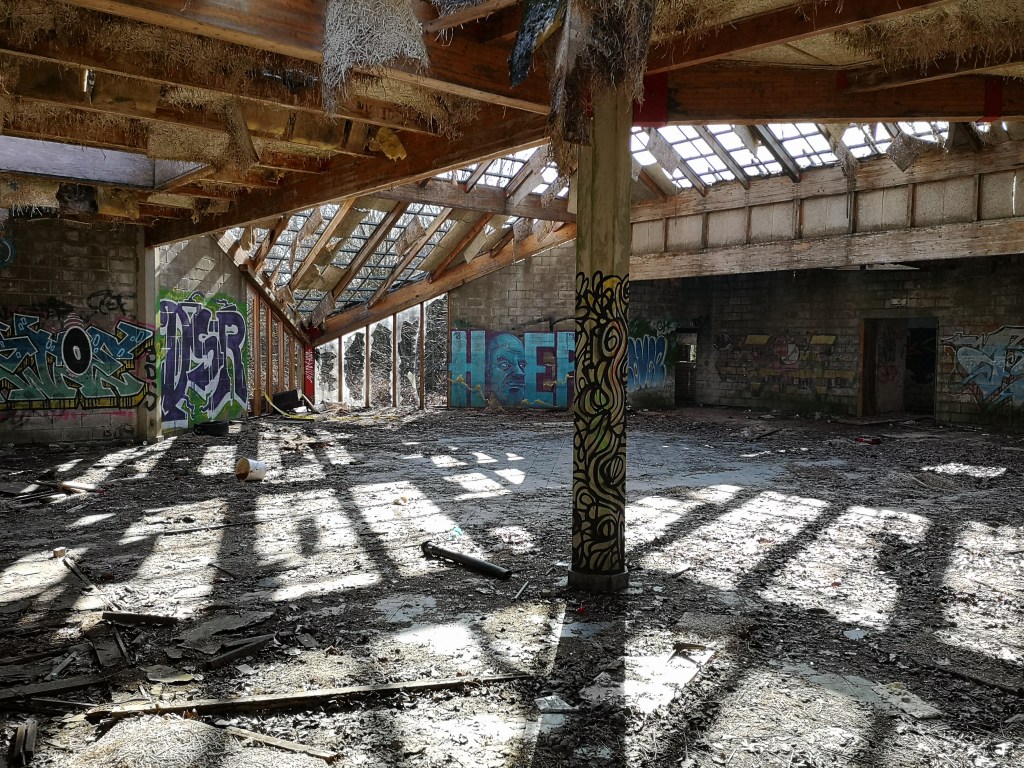
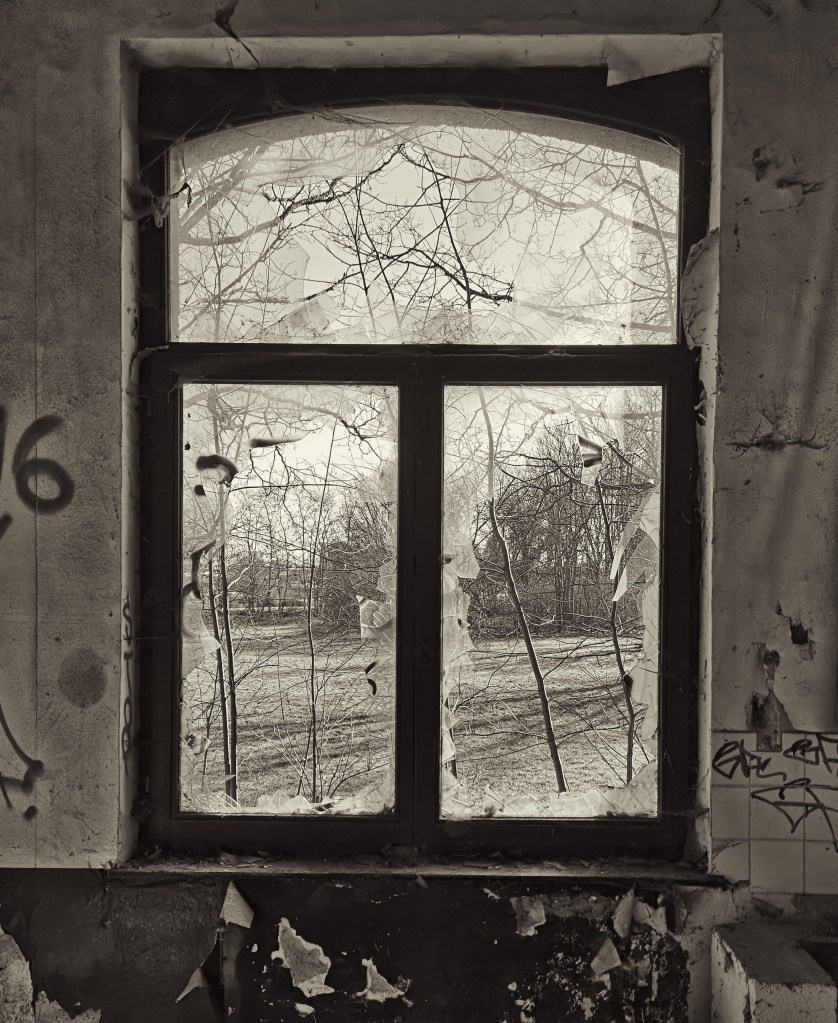
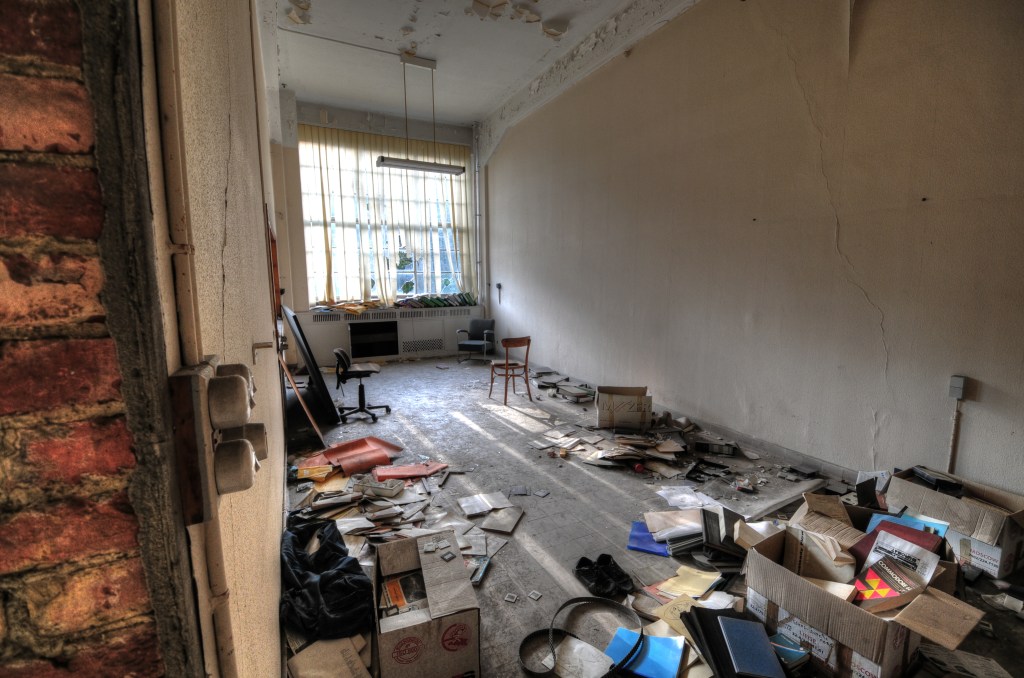
A high dynamic range means that the camera can capture a wider range of tonal values, from shadows to highlights, in a single image. This works great if you shoot a scene with the sun stright in, for exemple. It is also particularly important when shooting scenes with high contrast, such as in Urbex with a bright panorama through windows and dark shadows inside.
The dangers of HDR photography, of course… is your computer screen strong enough to handle it ? lol.
You can get higher dynamic ranges 2 ways. Through better camera gear, or digitally, using a computer.
Cameras with higher dynamic range will be able to capture more detail in both the shadows and highlights of the image. This will be done through superior sensor technology, better integrated intelligence, or more often, both. This will “naturally” result in a more balanced and visually pleasing photo. Except, sometimes it ain’t “natural” at all.
HDR images can also be created by combining multiple exposures of the same scene using specialized software. That’s what I do. I use Photomatix Pro.
To acheive this, Urbexers must first capture multiple images of the same scene at different exposure levels. They then can merge them into a single image with a wider range of brightness values. This part is done using specialized software that will align the images and combine them into a single HDR image. This resulting single image can be saved as a high-bit-depth file format, such as 16-bit TIFF or RAW, to preserve the full range of brightness values. What would be the point of increasing the Dynamic Range if you then save it in .jpg, compressing the hell out of your image’s tonal range ?
The best camera setup for HDR photography is… well there isn’t one! At best, look for a camera with an already build high dynamic range offering, manual settings, tripod compatibility (since you will take multiple shots of the same scene at different exposure levels, it’s important to be completly immobile), and image quality.
Here are the steps to take an HDR photo:


- Set your camera to Aperture Priority.
- Enable the Auto Exposure Bracketing (AEB) function in your camera. This function varies depending on your camera brand and model.
- The braketing exposure must be done on time, not aperture !! If your camera gives you different EV based on aperture, the depth of field will change when you braket, and your picture will not be tack sharp.
- Determine the range of exposures you want to capture. The typical range is +/- 1-2 stops, but this can vary depending on the contrast of the scene. I sometimes go as low as 1/2 EV.
- Frame your shot and take the first image.
- Without moving the camera, take a series of shots with varying exposure settings. For example, you might take one shot at the correct exposure, one at -1 stop, and one at +1 stop. I usually take between 5 and 9.
- Review the images on your camera’s LCD screen. You never know… to fuck up a shot is human
- Use HDR software to merge the photos into a single HDR image. Adobe Photoshop, Aurora HDR or Photomatix.
- Tone mapping, if need be, to reduce the range of tonal values in the HDR image to fit within the narrower dynamic range of the display (paper or screen).
- Edit the HDR image to adjust the overall exposure, contrast, color, and other settings to achieve the desired look.

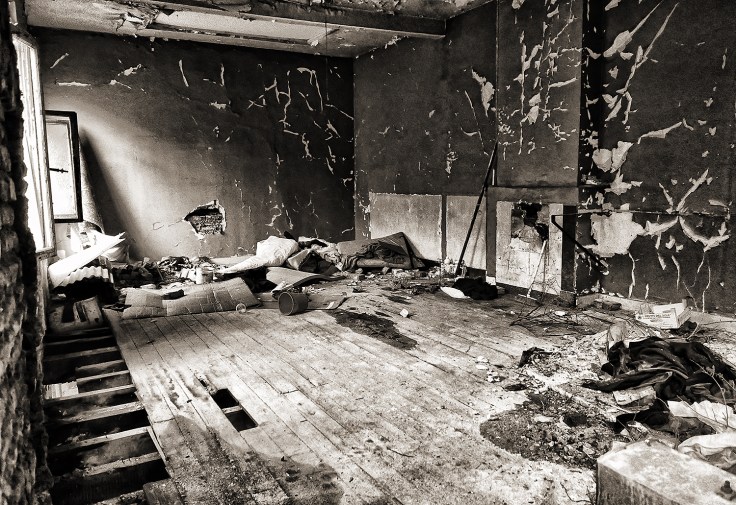
Navigate with caution though. HDR photography oten leads to oversaturated, over-sharpened, and downright gaudy. What was once a subtle, nuanced scene can quickly be transformed into a garish, Technicolor nightmare. This is especially true if you tone map your HDR images.
HDR captures multiple exposures to retain a wider dynamic range, while tone mapping compresses the resulting HDR image to make it visually suitable for display or printing. While HDR expands the range of details captured, tone mapping adjusts the tonal values to ensure representation on standard display devices. Both techniques are used in combination.

HDR technology has become more accessible through advancements in camera technology and software. As a result, many Urbexers use HDR without fully understanding its subtleties. They simply rely on the default HDR settings or use it as a “one-size-fits-all” solution for their photos, leading to overuse. Not only that, but most seem adept of Spinal Tap’s Nigel philosophy: “Go to eleven”.
IMHO, the delicate balance of light and shadow can be easily lost, replaced by a cacophony of colors and textures that assault the damn senses. As someone who often over-did it, I believe it’s important to exercise discretion and use it appropriately to maintain a natural and balanced look in images.
HDR photography for you then: When seeing the world in realistic light range just isn’t good enough !!