
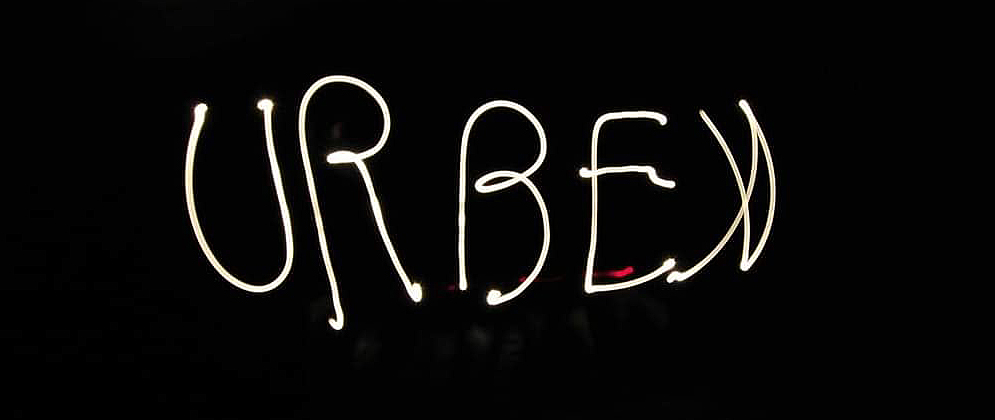
I love light painting.
It’s stupid, but it’s fun.
Just like me.

If you don’t know, light painting is the “oh-so-trendy” technique involving waving around a flashlight (or other light source) like a a fucking maniac in front of a camera. It’s the perfect way to make your photos look like they were taken in a parallel universe where laws of physics don’t apply.
To get started with light painting, all you need is a tripod, a slow shutter speed, and some kind of light source.
More on that later.
You’ll also need flashlights, glow sticks, sparklers, or even fire – the possibilities are endless! J You can move the light source in all sorts of crazy patterns or directions to create mind-bending shapes and trails. No needs for straight, ordinary photo when you can have some swirling psychadelic weird shit!!

Of course, mastering the art of light painting is no that easy. It takes practice, experimentation, …and a whole lot of patience.
Who needs instant gratification when you can spend hours waving a flashlight around like a mad scientist? The results are fuckin’ worth it, trust me.
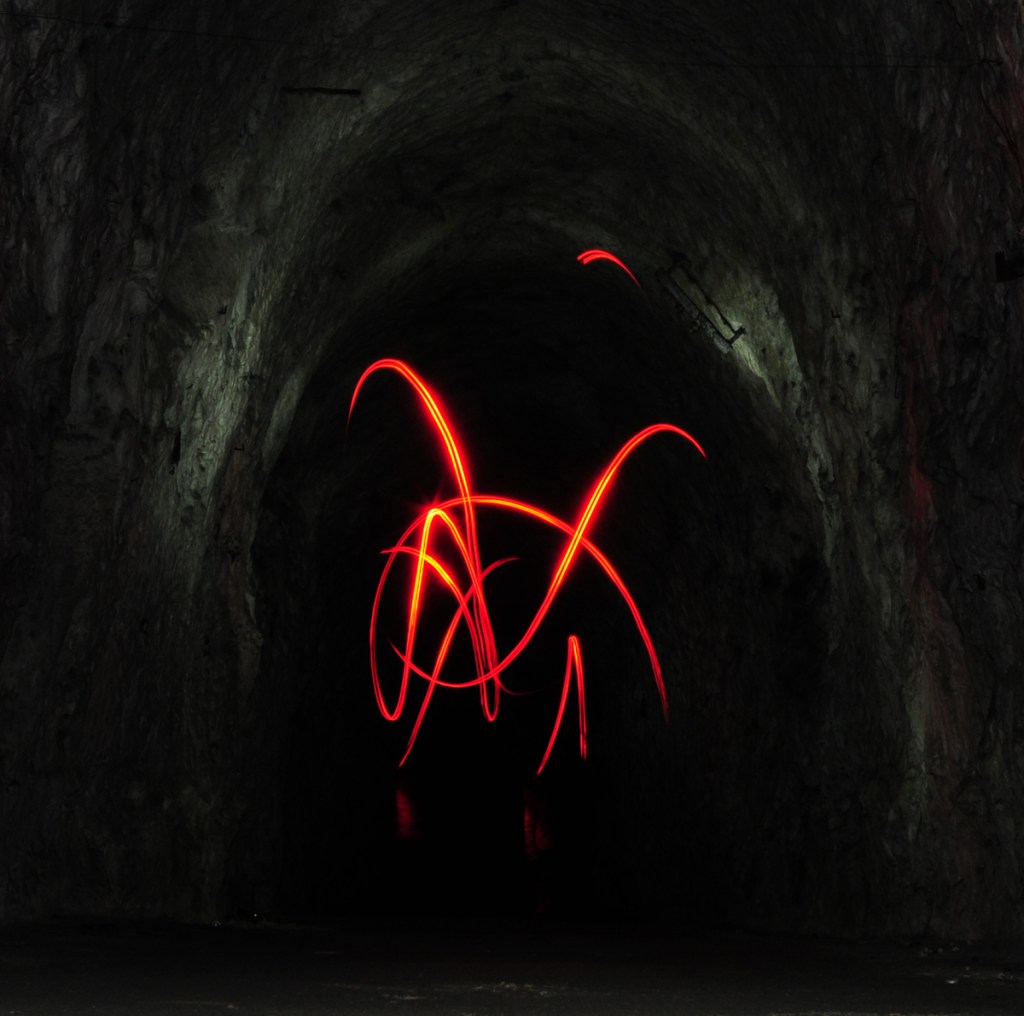
The most popular context for light painting is, believe it or not, urbex photography. Light painting in urbex photography is like the icing on the (moldy) cake. It’s the perfect way to highlight peeling paint, rusted metal, and creepy corners.
Who needs natural light when you can create an eerie, surreal atmosphere by selectively illuminating the spooky details of a decaying building? It’s like a horror movie come to life, but with more light sources and fewer jump scares.
While it can produce some stunning and unique images, there are certain limitations to this technique that Urbexers should be aware of.
One of the main limitations of light painting is the need for a long exposure time. Because the camera’s shutter needs to be open for an extended period, I never do less then 30 seconds…Any movement or vibrations during the exposure can cause the image to blur. This means that light painting is best suited to situations where the camera can be mounted on a tripod or a stable surface.
Another limitation of light painting is the need for a (really) dark environment. Because the Urbexer is essentially painting with light, any other light sources in the environment will interfere with the image. This means that light painting is typically done at night or in a naturally dark place.
Additionally, light painting is a time-consuming process. Depending on the complexity of the image, it can take several minutes or even hours to complete a single exposure.
Finally, the amount of control the photographer has over the final image is limited. Because the light source is constantly in motion, it can be difficult to precisely control the shape, size, and intensity of lights. Light painting is therefore a technique requiring a lot of experimentation and practice.

But let’s not limit light painting to just urbex photography. You can do it anywhere! Nature, cityscapes, studios – the world is your light canvas. Just imagine the possibilities of creating stunning images with streaks of light or swirling shapes in unexpected places. No needs for boring, well-lit photos when you can have a burst of creativity and imagination.
So go ahead, grab your flashlight, embrace the darkness, and let your inner shaky artist shine through. Happy painting! (And remember to watch out for ghosts in those abandoned buildings!)

